


So, you’ve decided it’s finally time to upgrade your backyard with a paver patio. Great choice.
But if you’re wondering what actually happens during a paver patio installation in Pittsburgh, you’re not alone. Most homeowners know they want a beautiful, durable space to hang out—but they don’t always know what goes into getting there.
Let’s walk through the entire process, step by step, so you know exactly what to expect.
Step 1: Planning and Design
This is where the fun begins. You meet with our team, we talk through your goals, your yard’s layout, and your style preferences. Want clean lines and a modern feel? Great. Prefer a rustic look with textured stone? We can do that too.
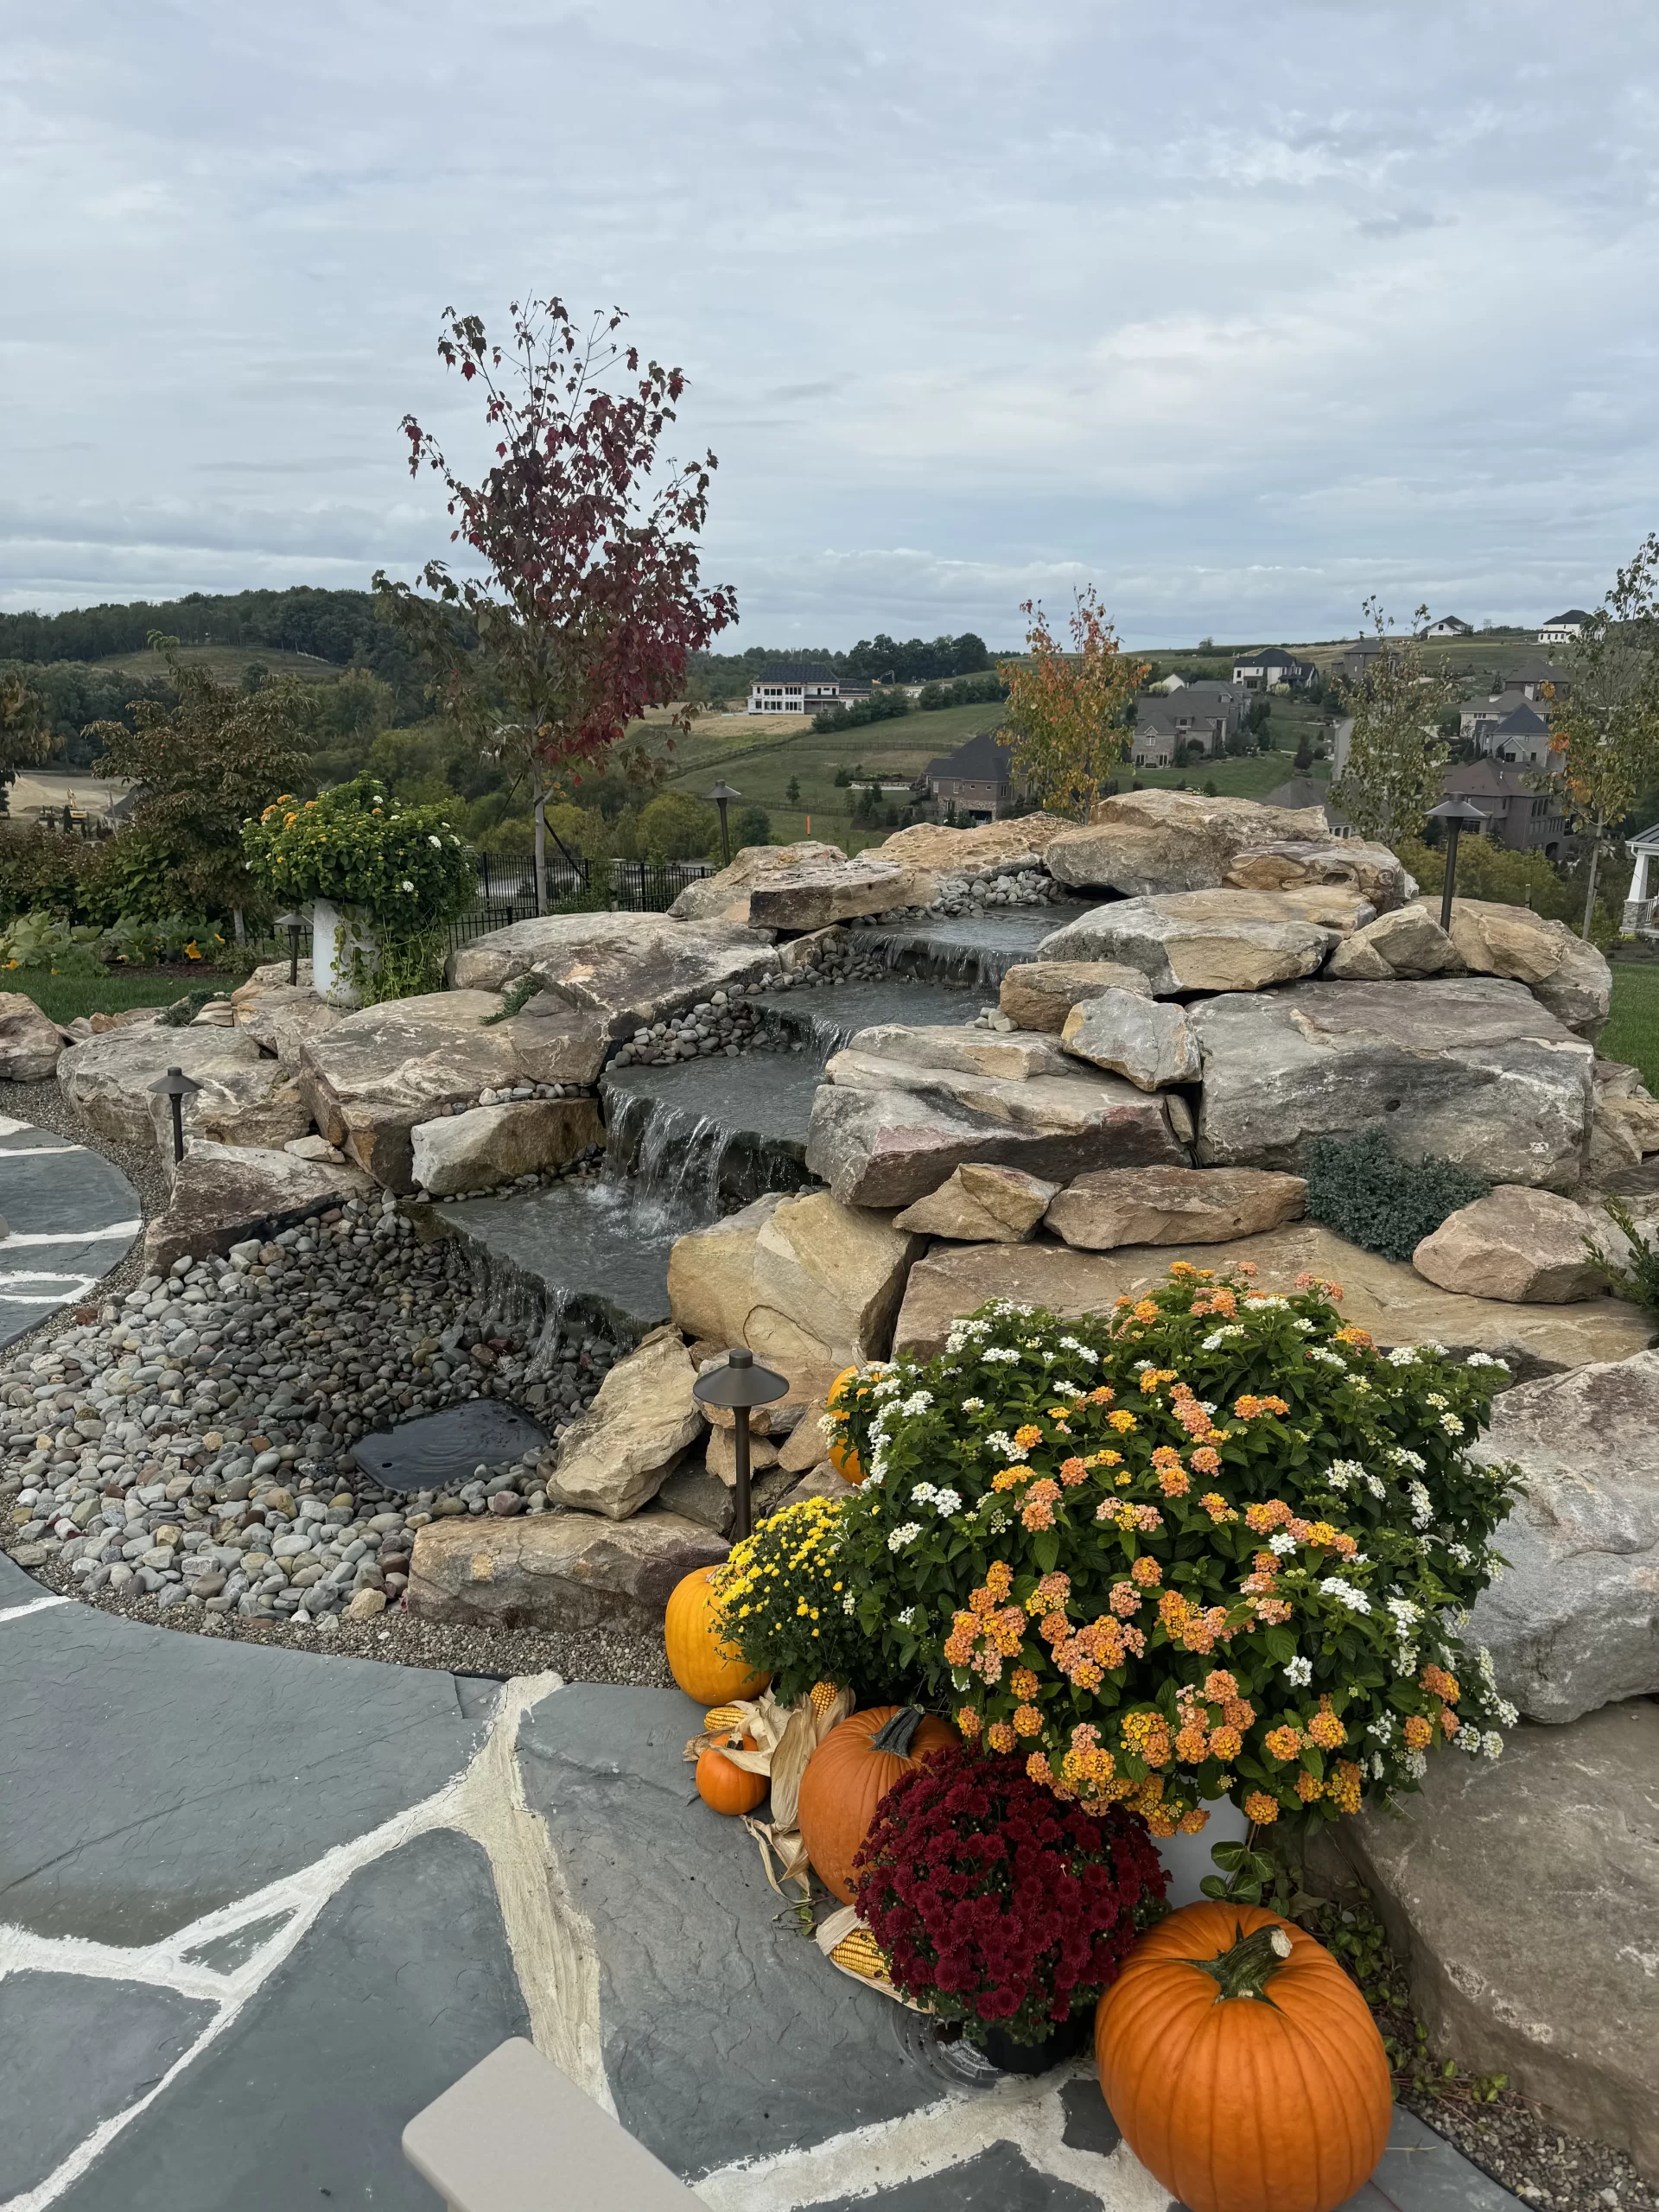
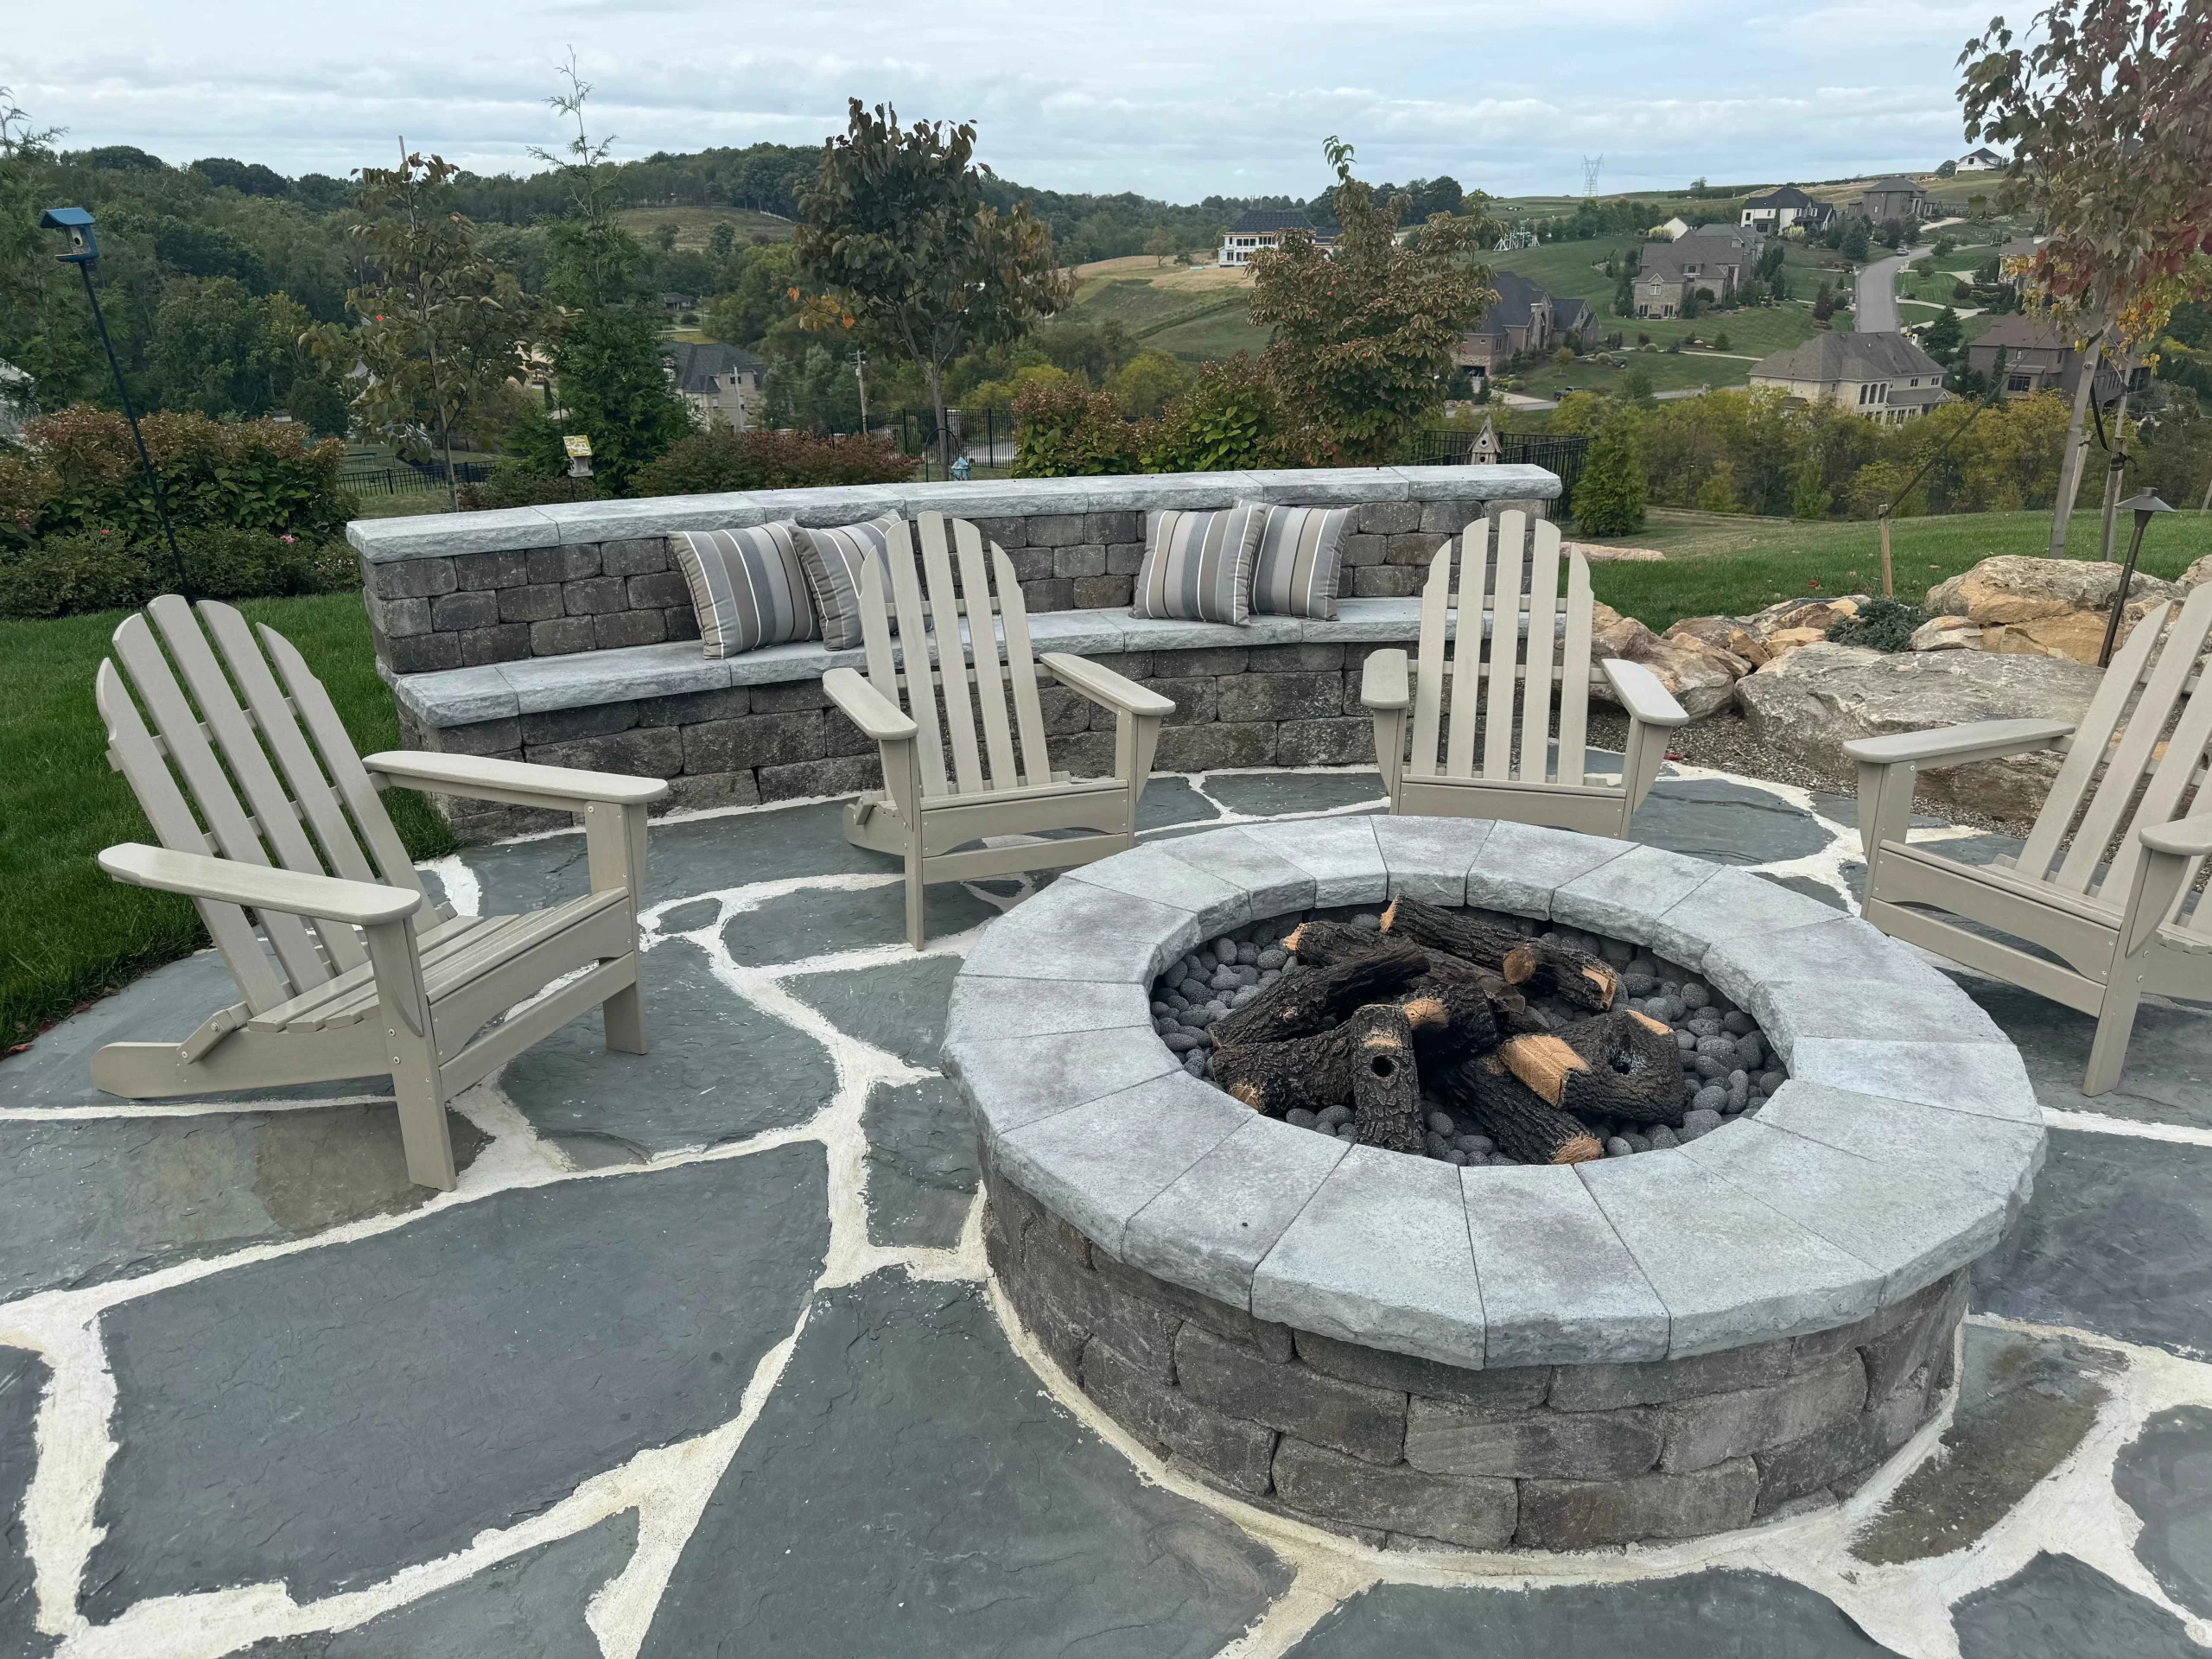
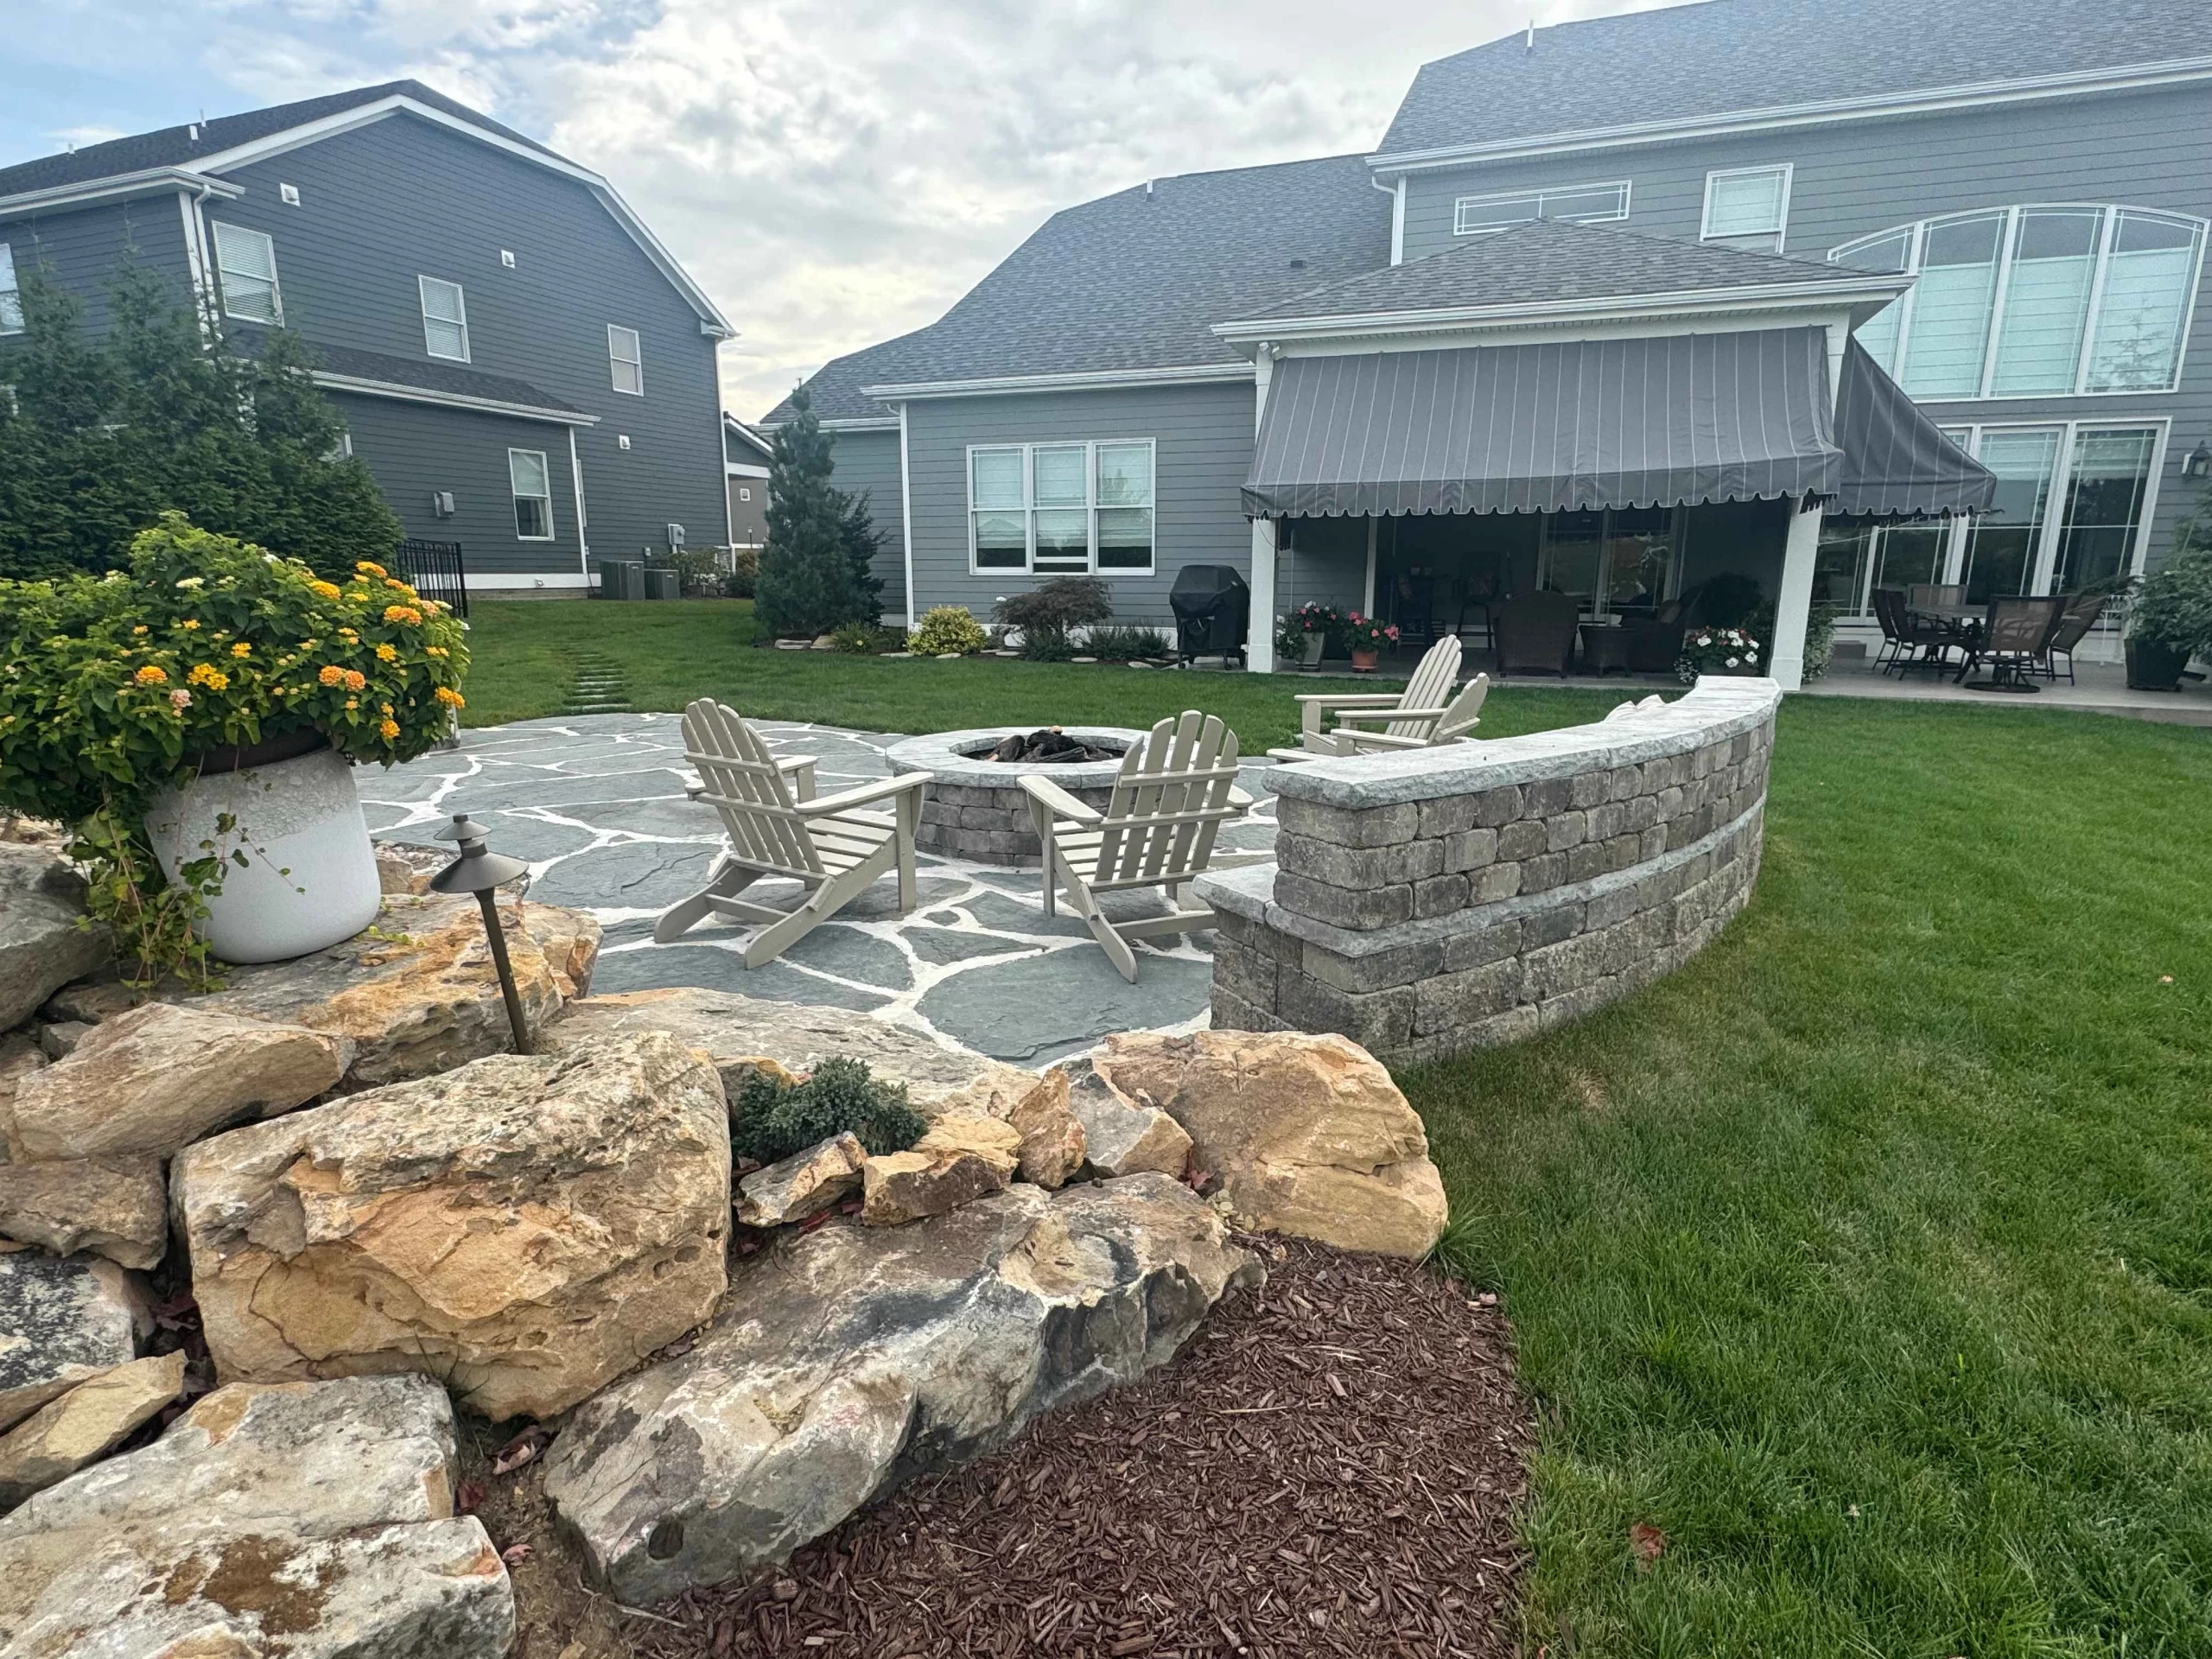
We’ll help you figure out where the patio should go, how big it should be, and what extras (like a fire pit, stoops or steps, or outdoor kitchen) would work best with the layout.
If you’re still comparing materials, we break it down in our paver patio vs concrete guide.
Step 2: Excavation and Site Prep
Once we’ve nailed down the plan, it’s time to get our hands dirty.
We’ll mark off the area and start excavation. This involves removing the existing grass, soil, or concrete and getting down to a solid base. In Pittsburgh, this step is critical—our freeze-thaw cycles demand a stable foundation.
Need more than just a surface scrape? We offer full excavation services, grading, and even land clearing to make sure everything’s set up properly.
Step 3: Base Installation
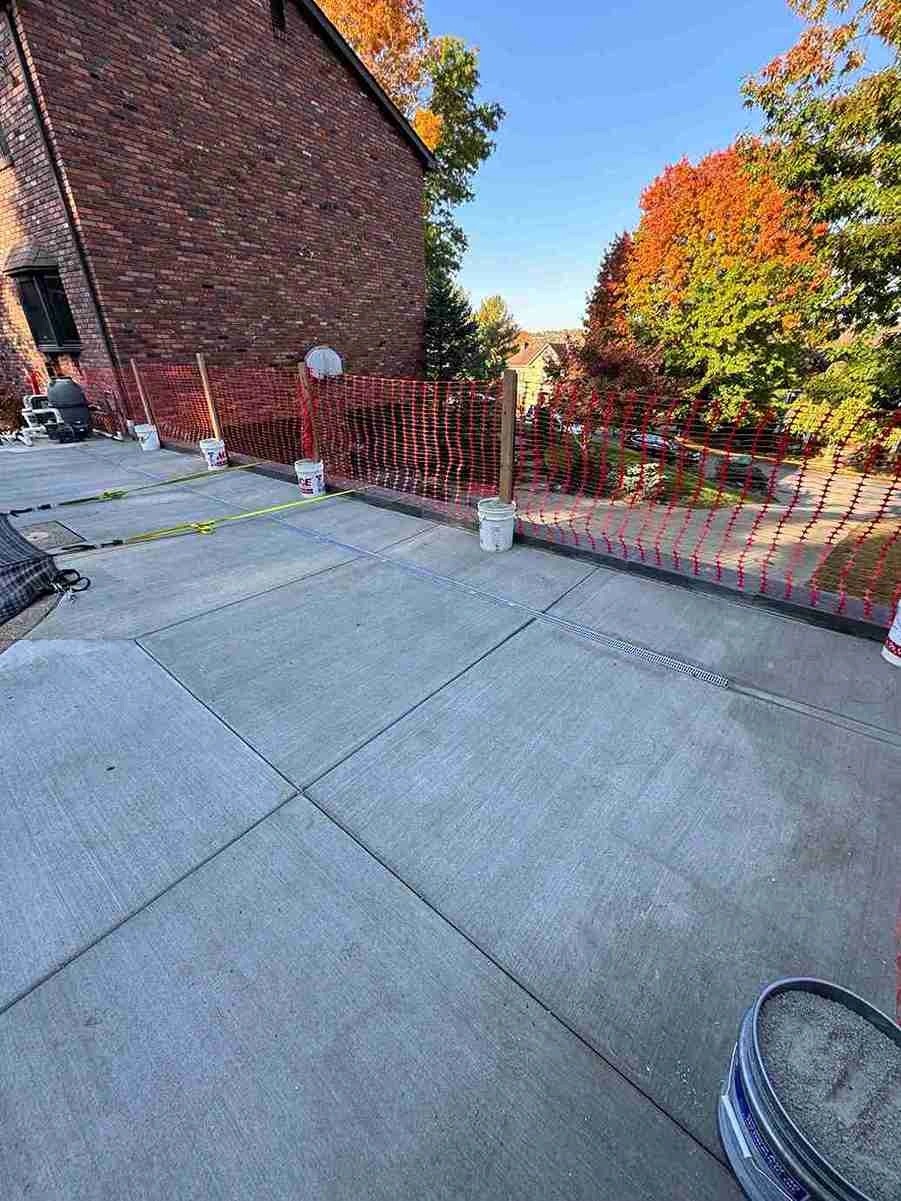
Now we lay down the base materials—typically crushed stone and sand—then compact and level everything to make sure it’s solid and drains properly.
This step might not be glamorous, but it’s what keeps your patio from sinking, shifting, or cracking down the road. We’ll also factor in any necessary drainage solutions to keep water away from your foundation.
Step 4: Laying the Pavers
This is where the patio finally starts to look like a patio.
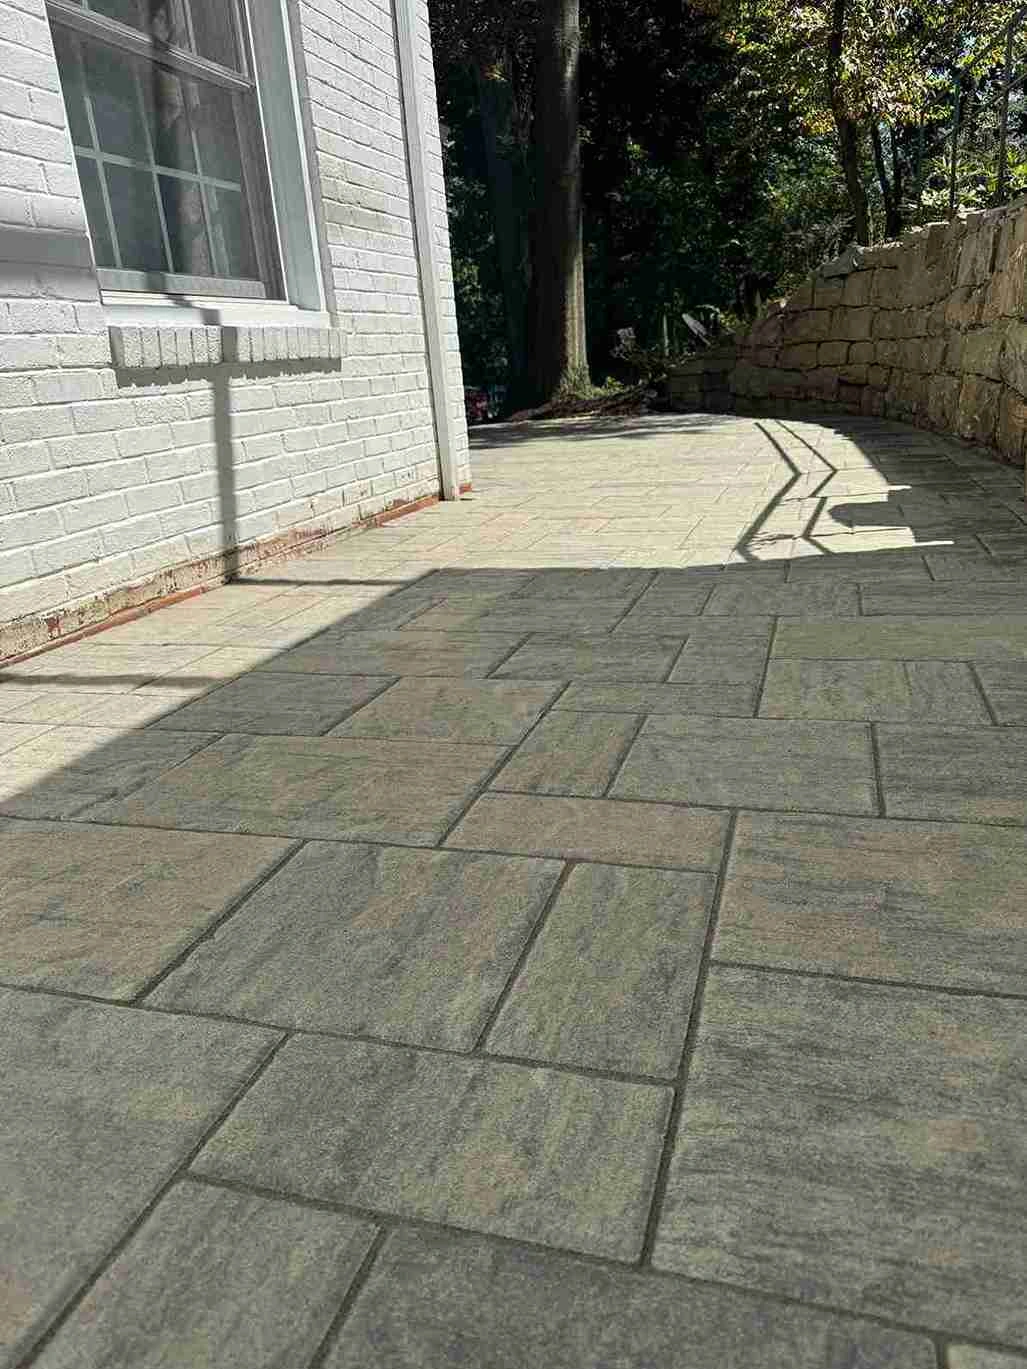
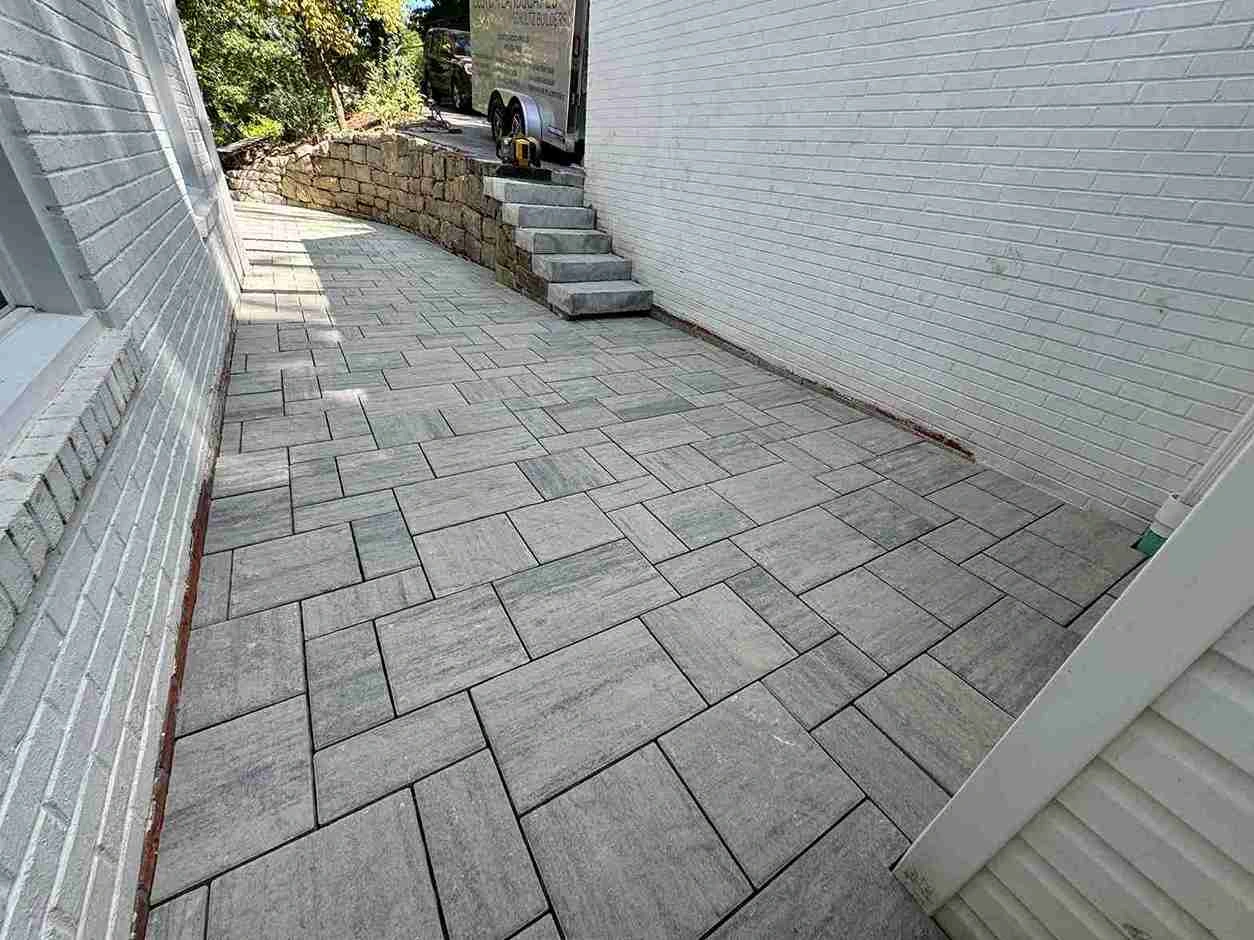
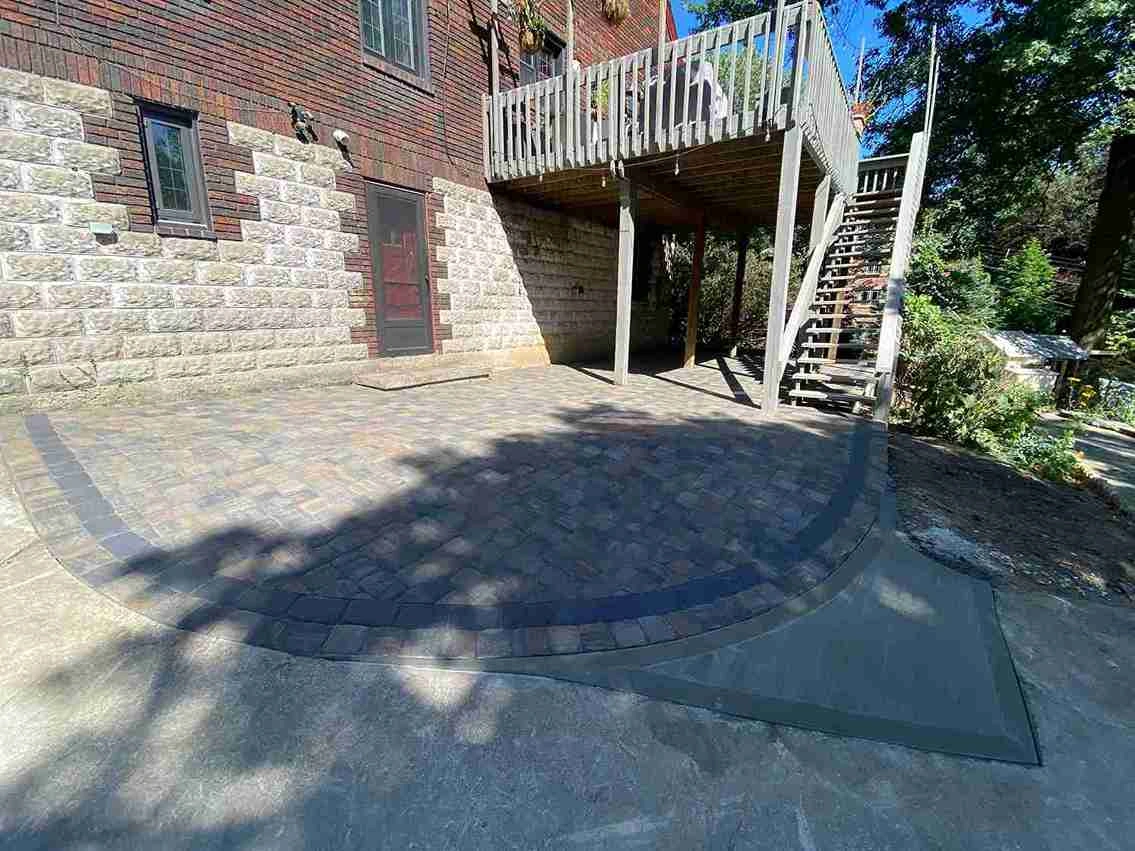
We’ll carefully place each paver according to your design pattern. Whether it’s a simple running bond, a herringbone, or something more custom, this part is all about precision.
Once everything’s laid out, we fill the joints with polymeric sand and compact the whole thing again to lock it in place.
Want to see what kind of styles and upgrades you can add? Check out the benefits of a paver patio.
Step 5: Edging, Cleanup, and Walkthrough
The final touches make a big difference. We’ll install edge restraints to keep the patio secure, sweep off excess sand, and give everything a final clean.
Then, we walk you through the finished space, answer any questions, and talk through care and maintenance. Spoiler alert: it’s easy.
Need help keeping things tidy down the road? Our cleanup services can help freshen up your space whenever it needs a little boost.
Bonus: Optional Upgrades
Your new patio is the perfect base for other outdoor upgrades. Once it’s in, you might consider adding:
- A custom walkway leading to the patio
- A little mood-setting landscape lighting
- An irrigation system to keep nearby plants thriving
- Or a full landscape design to pull the whole space together
We also handle patio installations from start to finish, so you never have to juggle multiple contractors.
Let’s Build It Right the First Time
At Custom Landscapes, we make sure your paver patio is done with care and attention to detail—from the first conversation to the final walkthrough.
Got questions? Not sure where to start? Head over to our contact page and let’s talk about your dream patio.
We’ll help you bring it to life—no surprises, no stress, just a solid, beautiful space that adds value and comfort to your home.